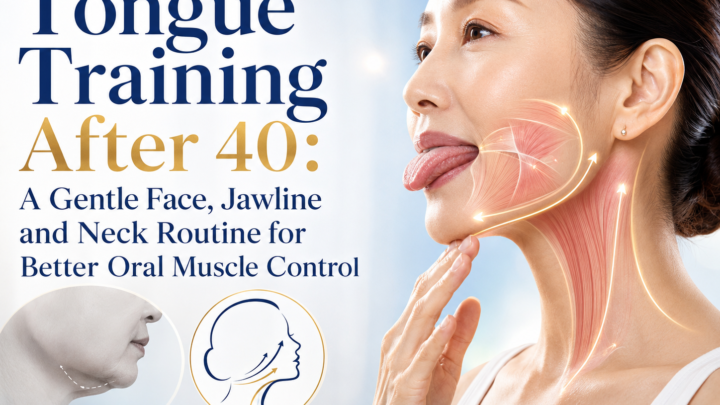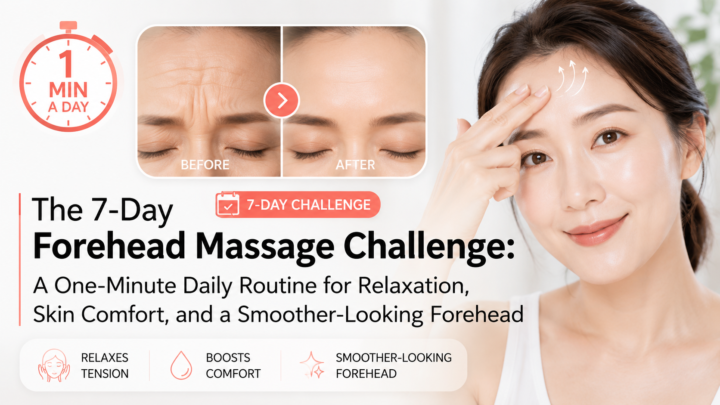
Facial tension release can be a useful way to relax an overworked jaw, stiff neck, tight shoulders, and tense facial muscles after hours of phone use, computer work, stress, or habitual clenching. This gentle routine combines ring-finger movement, hand and arm release, temple and masseter massage, jaw relaxation, and controlled facial exercises.
It is not a facelift and cannot reverse structural facial aging, but reducing unnecessary muscle tension and improving posture may help the face and neck feel more comfortable and look more relaxed.
If your jaw feels tight, your shoulders sit forward, and your face looks more tired at the end of the day, the problem may not be “aging” alone.
Modern habits such as prolonged phone use, laptop work, scrolling, stress, and repetitive hand activity can contribute to tension through the hands, forearms, shoulders, neck, and jaw.
That does not mean your arms are literally pulling your face downward.
But posture, muscle tension, jaw clenching, facial expression, sleep, hydration, and temporary fluid retention can all influence how your face looks and feels from one day to the next.
This gentle routine explores those connections through hand, arm, jaw, temple, and facial massage combined with breathing and relaxed movement.
The goal is not to promise a permanent facelift.
The goal is to reduce unnecessary tension, improve movement comfort, relax overworked muscles, and help the face look more rested.
Why Your Hands, Arms, Neck and Jaw May Feel Connected
The human body does not work as a collection of isolated parts.
Muscles, connective tissues, joints, nerves, and movement patterns interact across regions.
If you spend hours with your hands in front of you while typing, holding a phone, or using a mouse, the shoulders may gradually round forward.
The neck may then work harder to keep the head positioned over the body.
Some people also clench the jaw when concentrating or under stress.
The original routine focuses heavily on this modern “hands-forward” lifestyle and suggests that chronic arm and shoulder tension can contribute to a stiff neck and jaw.
That general connection is reasonable from a posture and muscle-tension perspective.
What is less certain is the stronger claim that releasing one specific finger can mechanically lift the face.
What About the San Jiao Meridian?
In traditional East Asian medicine, the San Jiao, or Triple Burner, meridian is traditionally described as traveling from the ring finger upward through the arm, shoulder, neck, and side of the face.
The source uses this traditional pathway to explain why the routine begins with the ring finger.
This should be understood as a traditional medical framework rather than a proven anatomical pathway equivalent to a nerve, blood vessel, or fascial chain.
You do not need to accept the meridian explanation to use the gentle parts of the exercise.
From a modern movement perspective, finger movement, forearm massage, relaxed breathing, and shoulder motion can still help reduce the sensation of tension in overused areas.
Step 1: Ring-Finger Shake and Shoulder Release
Hold the ring finger gently between the thumb and fingers of the opposite hand.
Do not squeeze hard.
Give the finger a small, relaxed shake while breathing slowly.
As you exhale, allow your shoulders to drop away from your ears.
Keep the neck relaxed.
The source presents this as the “key” first step and repeatedly pairs it with exhalation and shoulder relaxation.
Try it for several slow breaths, then switch hands.
What you may notice:
Less gripping through the hand
Reduced forearm tension
More awareness of shoulder position
A sense of relaxation through the neck
These sensations are useful even if there is no visible facial change.
Step 2: Gentle Hand and Forearm Release
The routine then moves into deeper gripping and shaking around the hand and arm.
For a safer version, keep the pressure moderate.
Use your opposite hand to gently grasp the soft tissue of the palm, forearm, or upper arm.
Lightly squeeze and release.
You can add a small shake if it feels comfortable.
Do not pinch hard enough to bruise.
Do not work directly over areas that are swollen, injured, numb, inflamed, or unusually painful.
The original routine repeatedly uses “pinch and shake” as its main technique.
The useful principle here is simple:
Gentle manual pressure can temporarily change how tense an area feels.
Pain is not required for the technique to “work.”
Step 3: Recheck Your Neck and Jaw
After working on the hands and arms, pause.
Turn the head gently from side to side.
Open and close the jaw once or twice.
Ask yourself:
Does the neck move more comfortably?
Does the jaw feel less clenched?
Do the shoulders feel lower?
The source explicitly performs this before-and-after check before moving into the facial portion of the routine.
This is a much better way to judge the exercise than looking for an instant facelift.
Comfort and movement are more reliable short-term outcomes than structural facial change.
Step 4: Gentle Cheek and Upper-Lip Massage
The original routine next applies pressure from above the upper lip toward the cheekbone.
This section should be modified substantially for safety.
Do not aggressively “peel” tissue away from the gums.
Instead:
Wash your hands thoroughly.
Place the pads of your fingers on the skin above the upper lip.
Use light upward and outward strokes toward the cheek.
Keep the pressure comfortable.
Avoid irritated skin, active cold sores, recent dental procedures, facial injections, or areas of unexplained pain.
You should not feel severe pain.
A mild massage sensation is enough.
Step 5: Temple Release
Place two or three fingertips over the temples.
Use small circular motions.
Keep your jaw relaxed.
Breathe slowly.
People who clench or grind their teeth may notice tenderness in the temporalis muscles because those muscles contribute to jaw closing.
The source specifically links temple tightness with jaw tightness and recommends gentle work in this area.
Spend approximately 20–30 seconds on each side.
Do not press aggressively.
Step 6: Masseter Massage
The masseter is one of the major muscles used for chewing and jaw closing.
It sits along the side of the jaw.
To find it, lightly clench your teeth and feel the firm muscle that becomes more prominent near the back of the cheek.
Then relax your jaw.
Place your fingertips over the muscle and use slow circles or gentle stationary pressure.
The source describes this muscle as thick and often tender.
That tenderness does not mean you need deeper pressure.
Aggressive massage can irritate the area.
Use enough pressure to feel the muscle, not enough to fight through pain.
Step 7: Relax the Lower Face
The routine also uses movements of the lower lip and mouth to activate facial muscles.
One version gently rolls the lower lip inward over the lower teeth.
The source identifies the depressor anguli oris as one of the muscles involved in expression around the mouth.
A gentler exercise is:
Relax the jaw.
Soften the forehead.
Close the lips lightly.
Lift the corners of the mouth slightly.
Hold for 3–5 seconds.
Release completely.
Repeat several times.
Avoid exaggerated facial contractions.
More force is not necessarily better.
Step 8: Under-Chin and Jawline Release
The original routine places the thumbs under the chin and applies upward pressure.
For a safer version:
Place your fingertips lightly under the jawline.
Move slowly from the center of the chin toward the jaw angle.
Use very light pressure.
Do not aggressively dig into the soft tissues of the neck.
Avoid pressing over the front of the throat or carotid artery area.
This kind of massage may temporarily change how tight or puffy the lower face feels, but it cannot permanently remove a double chin.
Submental fullness can be influenced by fat distribution, skin elasticity, anatomy, posture, and age.
The original claim that releasing a stuck area makes the double chin “go too” is too strong to present as established fact.
Step 9: Smile and Facial Coordination Exercise
Toward the end of the routine, the focus shifts from massage to controlled facial movement.
The source instructs the participant to relax the forehead, draw the lips inward, lift the corners of the mouth, and create a broad smile.
A simple version is:
Relax the forehead.
Keep the jaw unclenched.
Lift the corners of the mouth gently.
Hold for 3 seconds.
Relax fully.
Repeat 5 times.
This is better thought of as facial-muscle awareness and coordination rather than “lifting” the face.Facial tension release may temporarily change how the face looks by relaxing tight muscles, softening facial expression, improving posture, and changing the way superficial fluid is distributed, but it should not be confused with permanent structural lifting.
Can This Routine Really Make Your Face Look More Lifted?
Possibly temporarily, but the reason is important.
Massage and relaxation may make the face appear different for a short period because they can:
Reduce muscle tension
Relax jaw clenching
Change facial expression
Reduce the feeling of stiffness
Temporarily redistribute superficial fluid
Improve posture
Increase awareness of how the face is being held
That is different from reversing structural skin aging.
Facial sagging is influenced by multiple factors, including:
Skin collagen and elastin changes
Sun exposure
Genetics
Loss and redistribution of facial fat
Bone remodeling
Hormonal changes
Smoking
Sleep
Overall health
Gravity over time
Massage cannot permanently reverse those processes.
Can Releasing Your Arms Lift Your Face?
Not in the literal mechanical sense suggested by the original opening.
The face is not suspended from the arms in a way that allows arm tension to directly pull facial tissue downward.
However, a chain of postural behaviors can make the idea feel subjectively plausible.
For example:
Phone use may pull the head forward.
Forward-head posture can increase neck tension.
Stress may increase jaw clenching.
Jaw tension can alter facial expression.
Rounded shoulders may make the neck appear shorter.
Changing posture and relaxing the jaw can therefore change the way the face and neck look.
That is a much more realistic explanation.
What About Lymphatic Drainage?
The original routine repeatedly connects massage with lymphatic flow around the jaw.
Gentle movement and light massage can influence superficial fluid movement, but the lymphatic system is complex.
You should not assume that facial puffiness means the lymphatic system is “blocked.”
Persistent or one-sided swelling deserves medical evaluation rather than increasingly aggressive massage.
How Often Can You Do This Routine?
For a gentle version, several minutes of hand, shoulder, temple, and jaw relaxation can be incorporated into a daily wellness routine if it feels comfortable.
A practical sequence could be:
Ring-finger and hand release: 1–2 minutes
Forearm and shoulder relaxation: 2–3 minutes
Temple and masseter massage: 2–3 minutes
Gentle cheek and jawline massage: 2–3 minutes
Facial movement and breathing: 1–2 minutes
You do not need to reproduce the full 20-minute routine every day.
When to Stop
Stop if you experience:
Sharp facial or jaw pain
New numbness or weakness
Persistent dizziness
Severe headache
Jaw locking
Significant swelling
Skin irritation
Bruising
Dental pain
Pain that worsens with massage
People with recent facial surgery, dental surgery, facial fillers, botulinum toxin injections, active skin infections, TMJ disorders, unexplained facial swelling, or other relevant conditions should seek appropriate professional guidance before using strong facial massage techniques.A facial tension release routine works best as a gentle wellness practice focused on comfort, relaxation, posture, and movement rather than as a substitute for medical, dental, or cosmetic treatment.
The Bottom Line
The most useful idea in this routine is not that one ring finger can instantly lift your face.
It is that tension is rarely isolated.
Hands can become overworked.
Shoulders can round forward.
The neck can stiffen.
The jaw can clench.
Facial expression can become tense.
Gentle movement, breathing, massage, and postural awareness may help those areas feel more relaxed.
The original routine ends by returning to the idea of releasing tension through the jaw and lower face and asking the viewer to notice how the face feels afterward.
That is the most useful way to approach it:
Feel for comfort.
Notice movement.
Reduce unnecessary tension.
Do not chase pain.
And do not judge the success of the routine by whether your face suddenly looks years younger.
Medical Disclaimer
This article is for general educational and informational purposes only and is not intended to diagnose, treat, cure, or prevent any disease or medical condition. Facial, jaw, neck, and oral pain can have many causes. Avoid aggressive massage, and seek qualified medical or dental care for persistent pain, swelling, jaw locking, neurological symptoms, or other concerning changes.
This article is for general education and does not replace individualized care from a qualified health professional. Seek appropriate advice for persistent, severe, or concerning symptoms.
Read the full medical disclaimer