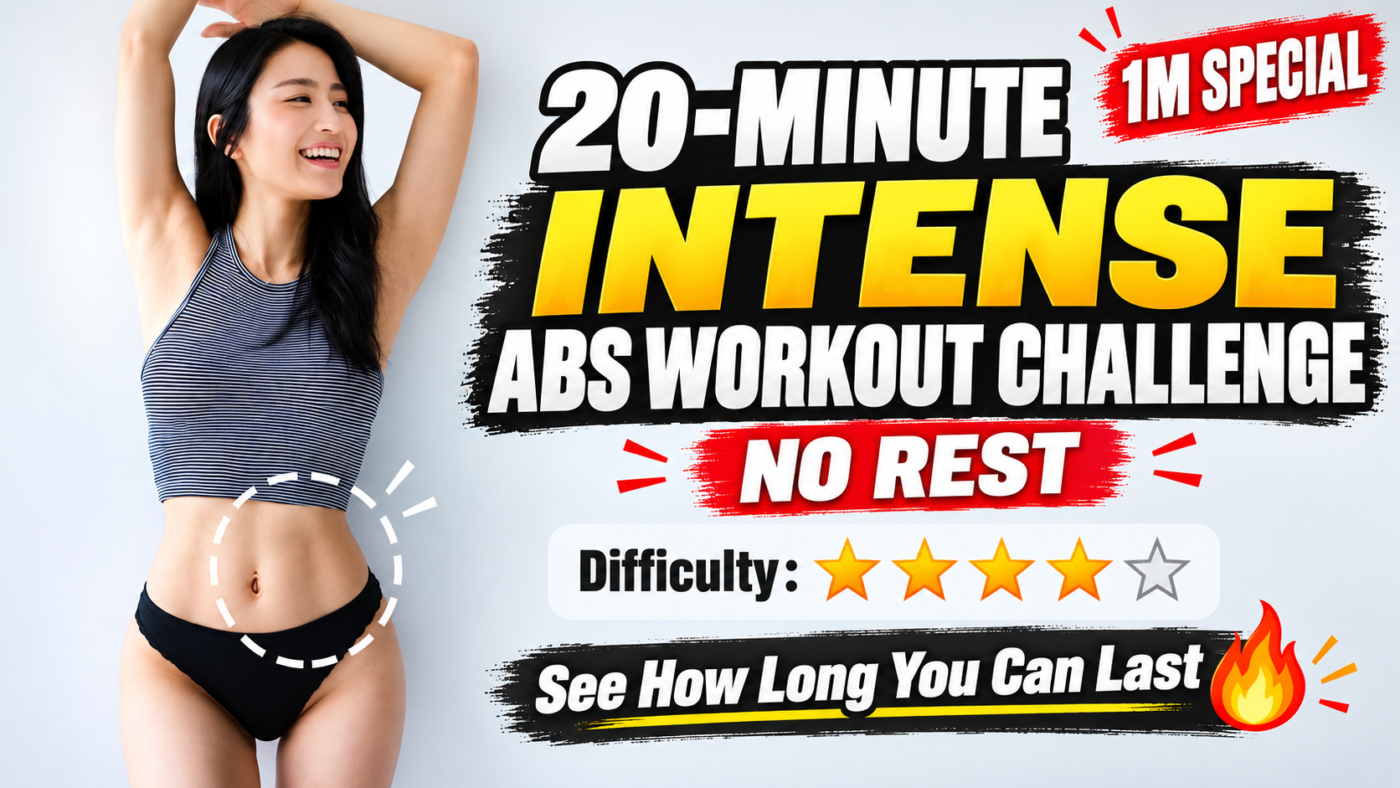
This 20-minute core workout at home is a challenging no-equipment routine designed to build abdominal strength, core endurance, stability, and control. It combines leg raises, crunch variations, static holds, boat pose, planks, side planks, and rotational movements into one demanding session.A strong core does much more than change how your midsection looks.
Your abdominal muscles work together with muscles around your spine, pelvis, hips, and diaphragm to stabilize your trunk, transfer force between your upper and lower body, and help you maintain control during everyday movement and exercise.
This 20-minute core workout is designed to challenge that system from multiple directions.
It combines leg raises, abdominal holds, alternating leg movements, crunch variations, rotational exercises, boat pose, planks, and side planks in one demanding no-equipment session.
The original routine moves almost continuously from one exercise to the next. That makes it a serious endurance challenge, especially for the abdominal muscles and hip flexors.
You do not, however, need to sacrifice technique simply to avoid resting.
If your lower back begins lifting excessively, your neck starts doing most of the work, or you can no longer control the movement, take a short break and resume when you can perform the exercise properly.
Quality matters more than finishing every repetition without stopping.
What This Workout Actually Trains
People often talk about the “upper abs,” “lower abs,” and “side abs” as though they were completely separate muscles.
In reality, abdominal exercises usually recruit several muscles at the same time.
This routine places substantial demand on the rectus abdominis, which runs along the front of the abdomen, while rotational movements and side planks increase involvement of the internal and external obliques.
The deeper abdominal muscles also contribute to trunk stabilization, particularly during controlled leg lowering, plank positions, and static holds.
Your hip flexors, shoulders, glutes, and muscles surrounding the spine will also work during several sections of the routine.
The goal is therefore broader than simply “training the abs.”
It is a full core endurance and control session.
Can This Workout Burn Belly Fat?
Abdominal exercise can make the muscles of your midsection stronger, but it cannot force your body to remove fat specifically from your stomach.
Doing hundreds of crunches or leg raises does not guarantee that abdominal fat will disappear from the exact area being exercised.
Fat loss occurs throughout the body according to overall energy balance, genetics, hormones, age, lifestyle, and individual fat-distribution patterns.
For people trying to reduce abdominal fat, core training can still be valuable as part of a larger program that includes regular physical activity, resistance training, appropriate cardiovascular exercise, adequate sleep, and sustainable nutrition.
Think of abdominal training as a way to build the muscles beneath the midsection rather than as a method of selectively burning the fat above them.
Who Is This Workout For?
This is not a gentle beginner abdominal routine.
The repeated straight-leg movements, prolonged low-leg holds, crunches, boat positions, side planks, and continuous transitions create significant fatigue.
It is better suited to people who already have some experience with core training and can comfortably perform basic exercises such as:
Planks
Side planks
Controlled crunches
Leg raises
Boat pose
Alternating leg lowers
Beginners can still use the routine, but should shorten the working periods, bend the knees when necessary, reduce the range of motion, and add more rest.
A yoga or exercise mat is recommended.
The Core Workout
The following sequence is based on the original approximately 20-minute training section, reorganized into logical phases so that the workout is easier to understand and perform safely.
Phase 1: Core Activation and Leg Raises
Begin lying on your back.
Extend your legs upward and slowly lower them toward the mat before lifting them again.
The important part is not how close your feet get to the floor.
The important part is maintaining control through your trunk.
Perform approximately 20 controlled repetitions.
As the legs descend, avoid allowing your lower back to arch excessively away from the floor.
Brace your abdominal muscles and stop the descent at the point where you can still maintain good pelvic and spinal control.
This first movement prepares the abdominal muscles for the much more demanding leg-lowering work that follows.
Phase 2: Controlled Leg Lowering
Raise your legs toward approximately 90 degrees.
Begin moving them through a smaller controlled range.
The routine then progresses into alternating leg lowering movements similar to slow flutter or scissor kicks.
Perform around 20 alternating repetitions.
Next comes one of the hardest sections of the workout: static leg holds.
You may move through several positions, including approximately:
60 degrees
30 degrees
A low position close to the floor
Hold each position for approximately 10 controlled counts or breaths.
The closer your straight legs move toward the floor, the greater the challenge on your trunk.
If your back begins arching strongly or you feel discomfort in your lower back, raise the legs higher or bend the knees.
A higher leg position performed correctly is more useful than a very low position performed with poor control.
Phase 3: Cross-Body Core Work
The workout then introduces diagonal movement.
Reach one arm toward the opposite leg and alternate sides.
This adds a rotational component and increases the contribution of the oblique muscles.
Complete approximately 20 alternating repetitions.
Move smoothly rather than throwing the shoulder toward the opposite leg.
Rotation should come from controlled movement through the trunk.
Avoid pulling the head or forcing the neck forward.
Phase 4: Low-Leg Isometric Hold
Return to a low-leg position and hold.
The original routine uses approximately 10 counts.
This is another demanding isometric exercise.
If straight legs create too much strain, bend your knees or keep your legs higher.
You should feel significant abdominal effort, but not sharp pain in the spine, hips, or groin.
Phase 5: Upper-Body Curl With Legs Elevated
Bring the legs upward again.
Lift the upper body slightly from the mat using the abdominal muscles.
Think about bringing the ribs gently toward the pelvis rather than pulling your head toward your knees.
Keep your neck long and relaxed.
Your hands may support the head lightly, but they should not pull it forward.
The goal is controlled spinal flexion generated primarily through the abdominal muscles.
Phase 6: Alternating Leg Series
Continue with alternating leg movements while keeping the core engaged.
The original workout repeats this sequence several times in short sets.
This creates cumulative fatigue rather than relying on one extremely long set.
Keep your breathing steady.
Exhale during the most difficult portion of the movement and avoid holding your breath unnecessarily.
Phase 7: Reach-and-Open Crunch
Lift the upper body and reach the arms forward.
Open the arms outward and then bring them forward again while maintaining abdominal tension.
Perform approximately 20 repetitions.
This variation increases the challenge because the trunk remains partially elevated throughout the sequence.
If your neck becomes tired before your abdominal muscles, lower your head briefly and reset.
Phase 8: Flutter Kicks and Leg Holds
Place your hands behind your head or beside your body according to your level of control.
Extend the legs and alternate them slowly.
Follow the dynamic movement with another static hold.
The original sequence again progresses toward lower leg angles.
This combination of movement followed immediately by an isometric hold is one reason the workout feels considerably harder than a conventional set-and-rest abdominal routine.
Phase 9: Controlled Single-Leg Lowering
Lower one leg gradually while keeping the other leg controlled.
Return it upward and repeat on the opposite side.
Perform approximately 10 repetitions per side.
Move slowly.
This is not a kicking exercise.
The slower tempo forces the abdominal muscles to resist unwanted movement of the pelvis and spine.
Phase 10: Side-to-Side Leg Rotation
With your upper body supported on the mat, move the legs toward one side and then the other.
This introduces controlled rotational loading.
Do not force the knees all the way to the floor.
Use only the range that allows you to maintain control.
People with a sensitive lower back should make this movement smaller or skip it entirely.
Phase 11: Boat Pose
Sit upright and lift the legs into a bent-knee boat position.
Keep the chest lifted and spine long.
Hold for approximately 10 controlled breaths.
For a harder progression, straighten the legs.
You may also extend the arms outward while maintaining the position.
Boat pose can create significant hip-flexor demand.
If your lower back rounds dramatically or you cannot maintain control, bend the knees and bring the feet closer to the floor.
Phase 12: Seated Rotational Core Work
Remain seated or supported on the forearms and move the extended legs from side to side.
Complete approximately 20 repetitions.
Keep the movement deliberate.
Avoid simply swinging the legs with momentum.
The abdominal muscles should help control both acceleration and deceleration.
Phase 13: Alternating Bent-Knee Core Work
Return to your back.
Lift the legs and alternate bending and extending them.
This movement provides another way to challenge the abdominal muscles while changing the lever length.
Twenty controlled alternating repetitions are enough to create considerable fatigue at this stage of the workout.
Phase 14: Multi-Directional Crunches
Place the feet down and raise the arms.
Curl the upper body while reaching through different directions, including the right side, center, and left side.
This section can accumulate approximately 40 total repetitions in the original workout.
Do not chase the repetition count if your form deteriorates.
A smaller number of controlled repetitions is preferable.
Phase 15: Leg Circles
Lift the feet and create controlled circular movements with the legs.
The routine gradually increases the circle size.
Several short sets are performed.
Keep the pelvis as stable as possible.
Larger circles significantly increase the demand, so begin small and expand the movement only when you can maintain trunk control.
Phase 16: Descending Leg Holds
This is another major endurance section.
Hold the legs successively at approximately:
60 degrees
30 degrees
Close to the floor
Each position is maintained for about 10 counts.
These low-leg holds are among the most challenging exercises in the routine.
They should not cause lower-back pain.
Raise your legs immediately if you lose control.
Phase 17: Leg Raise and Knee-Tuck Combination
Raise the straight legs upward.
Lower them under control, bend the knees toward the body, and then extend the legs upward again.
Perform approximately 10 controlled repetitions.
This combines a long-lever abdominal challenge with a shorter-lever knee tuck.
Avoid using momentum to throw the legs upward.
Phase 18: Side Plank With Arm Rotation
Move into a side plank.
Raise the upper arm toward the ceiling.
Then rotate the arm downward and underneath the torso before opening again.
Perform approximately 10 repetitions.
Finish with an isometric side-plank hold.
This movement trains lateral trunk stability and controlled rotation while also challenging the supporting shoulder.
Keep the body in a long line from the head through the hips.
If a full side plank is too difficult, place the lower knee on the floor.
Phase 19: Front Plank
Rotate into a front plank.
Maintain a strong position for approximately 10 controlled breaths.
Your shoulders should remain organized over the arms, your abdomen braced, and your hips neither collapsing toward the floor nor excessively lifting toward the ceiling.
The original routine then introduces additional hip and trunk movement from the plank position.
Keep the motion controlled and continue breathing.
Phase 20: Opposite Side Plank
Repeat the side-plank sequence on the opposite side.
Perform approximately 10 controlled arm rotations followed by another static hold.
Try to keep the effort balanced between both sides.
Phase 21: Plank With Multi-Directional Knee Drive
From a high plank, bring one leg forward through several directions.
The original sequence moves the leg toward different points while maintaining the plank.
Perform approximately 10 controlled repetitions before changing sides.
This is a demanding combination of trunk stability, hip mobility, shoulder stability, and coordination.
Reduce the range if your hips begin rotating excessively.
Phase 22: Seated Lean-Back Hold
Sit with the legs extended.
Lean the torso backward until you feel the abdominal muscles engage.
Hold for approximately 10 counts.
Then open the arms and repeat the leaning hold.
Do not collapse through the chest.
Maintain as much length through the spine as you can while keeping the movement controlled.
Phase 23: Final Straight-Leg Raises
Return to the floor.
Raise the legs toward 90 degrees and slowly lower them again.
Perform approximately 10 repetitions.
By this stage the abdominal muscles will already be heavily fatigued, so the range of motion may need to be smaller than it was at the beginning.
That is completely acceptable.
Phase 24: Bent-Knee Reach
Bend the knees and perform repeated reaches around or toward the sides of the feet.
The original workout uses approximately 20 repetitions.
Keep the movement small and controlled.
Avoid jerking the head and shoulders forward.
Phase 25: Final Core Holds
The routine finishes with another demanding sequence of static leg positions.
Raise the head slightly if comfortable and hold the legs around 60 degrees.
Then lower them toward the floor for another hold.
Return to approximately 90 degrees before progressing through another lower-angle hold.
Each position lasts around 10 counts.
This final sequence is intended as an endurance challenge, not a test of how much discomfort you can tolerate.
Once technique disappears, the productive part of the set is effectively over.
Why This Workout Feels So Difficult
The difficulty comes from accumulated fatigue.
Many individual exercises in this routine are familiar:
Leg raises
Crunches
Flutter kicks
Boat pose
Planks
Side planks
What makes the session challenging is the way they are combined.
The abdominal muscles rarely receive a complete recovery period.
Dynamic movements are repeatedly followed by static holds, and then another exercise begins almost immediately.
This creates a strong local endurance demand.
For an experienced exerciser, that can be an effective challenge.
For a beginner, it can become too much very quickly.
You Are Allowed to Rest
The original workout emphasizes completing the routine without rest.
Treat that as an optional challenge, not a rule.
Take 20 to 60 seconds whenever you need it.
Rest especially when:
Your lower back repeatedly arches during leg exercises.
You feel your neck doing most of the work during crunches.
Your hips begin dropping during planks.
You can no longer control the movement.
Your breathing becomes difficult to regulate.
You experience sharp or unusual pain.
The goal is progressive improvement.
If you complete only half of the workout with excellent form during your first attempt, that can be a much better training session than forcing yourself through the entire routine with poor technique.
How to Make the Workout Easier
Bend your knees during leg raises and holds.
Keep your legs farther away from the floor.
Perform side planks from the lower knee.
Reduce each set from 20 repetitions to 8 to 12.
Shorten static holds to 5 controlled breaths.
Rest between exercises.
Keep your head on the mat during some abdominal movements.
Skip exercises that provoke back, neck, hip, or shoulder pain.
How to Make the Workout Harder
More advanced exercisers can increase the challenge without rushing.
Use slower lowering phases.
Extend the legs fully during boat pose.
Increase static holds gradually.
Reduce momentum during rotational exercises.
Add brief pauses at the hardest part of each repetition.
Perform the workout with shorter rest intervals.
Progress should come primarily from better control and greater endurance, not simply from moving faster.
How Often Should You Do It?
You do not need to perform an intense abdominal workout every day.
Your core muscles respond to training and recovery in much the same way as other muscle groups.
For many people, two to four focused core sessions per week can be more practical than performing a demanding routine every day.
Your total training program matters as well.
Core work is most useful when combined with full-body strength training, cardiovascular activity, mobility work, walking, and appropriate recovery.
Will a Stronger Core Improve Posture?
Core strength can contribute to better trunk control, but posture is more complicated than abdominal strength alone.
Long-standing rounded posture or excessive thoracic kyphosis cannot simply be “fixed” by doing more abdominal exercises.
Posture can also involve spinal structure, mobility, muscular strength, habitual positions, pain, age-related changes, and individual anatomy.
A balanced program may include core training together with upper-back strengthening, hip mobility, thoracic mobility, and general physical activity.
Similarly, stronger abdominal muscles may help with stability during yoga, handstands, lifting, running, and other activities, but those skills still require specific technique and practice.
The Bigger Goal: Build a Core That Works
A useful core is not simply a midsection that looks lean.
It is a trunk that can resist unwanted movement, create movement when needed, transfer force efficiently, and remain stable while your arms and legs move.
That is why this workout includes much more than crunches.
Leg lowering challenges your ability to resist excessive spinal extension.
Side planks challenge lateral stability.
Rotational exercises challenge control through the transverse plane.
Boat pose creates sustained trunk tension.
Planks teach the body to maintain alignment while supporting its own weight.
Together, these exercises create a demanding multidirectional core session.
Final Thoughts
This 20-minute workout is intentionally difficult.
You may not complete every repetition the first time you try it.
That is not a problem.
Instead of treating the session as a pass-or-fail challenge, use it as a benchmark.
Notice how many exercises you can perform with good technique today.
Return to the routine after you have recovered.
Over time, you may be able to perform more repetitions, maintain the static holds longer, control your legs closer to the floor, and complete more of the workout before needing a break.
That progression is far more meaningful than chasing promises of visible abs in a few days.
Build strength.
Improve control.
Progress gradually.
And remember that a stronger core is valuable far beyond appearance.
Frequently Asked Questions
Can a 20-minute ab workout reduce belly fat?
It can increase physical activity and strengthen the abdominal muscles, but abdominal exercises cannot selectively remove fat from the stomach. Reducing abdominal fat generally requires a broader approach involving overall activity, nutrition, resistance training, cardiovascular exercise, sleep, and long-term energy balance.
Is this workout suitable for beginners?
The full routine is demanding and is better suited to people with some previous core-training experience. Beginners can use modified versions, bend the knees, shorten the holds, reduce repetitions, and take additional rest.
Should my lower back stay completely flat during leg raises?
The goal is controlled trunk and pelvic positioning rather than aggressively forcing the spine into the floor. If lowering the legs causes a large uncontrolled arch or discomfort, reduce the range of motion, bend the knees, or raise the legs.
Can I do this workout every day?
Daily high-intensity abdominal training is usually unnecessary. Allow adequate recovery and combine focused core work with a balanced full-body exercise program.
Why do I feel leg raises in my hip flexors?
The hip flexors contribute significantly to movements involving the legs. The abdominal muscles must work to stabilize the pelvis and trunk while the hip flexors move the legs. If the hip flexors dominate or your lower back becomes uncomfortable, bend the knees and reduce the range.
Can core exercises fix rounded shoulders or kyphosis?
Core strength may support better postural control, but abdominal exercises alone cannot correct every type of rounded posture or structural kyphosis. A more complete approach may involve mobility, upper-back strengthening, movement habits, and professional evaluation when necessary.
Do I need equipment?
No. A comfortable exercise or yoga mat is the only equipment recommended for this routine.
Medical Disclaimer
This article is for educational and general fitness purposes only and is not medical advice. Exercise should not cause sharp, persistent, or worsening pain. People with existing back, neck, shoulder, hip, abdominal, pelvic floor, or other medical conditions, as well as those who are pregnant, recently postpartum, recovering from surgery, or returning to exercise after a long period of inactivity, should choose appropriate modifications and seek individualized professional guidance when necessary.
This article is for general education and does not replace individualized care from a qualified health professional. Seek appropriate advice for persistent, severe, or concerning symptoms.
Read the full medical disclaimer