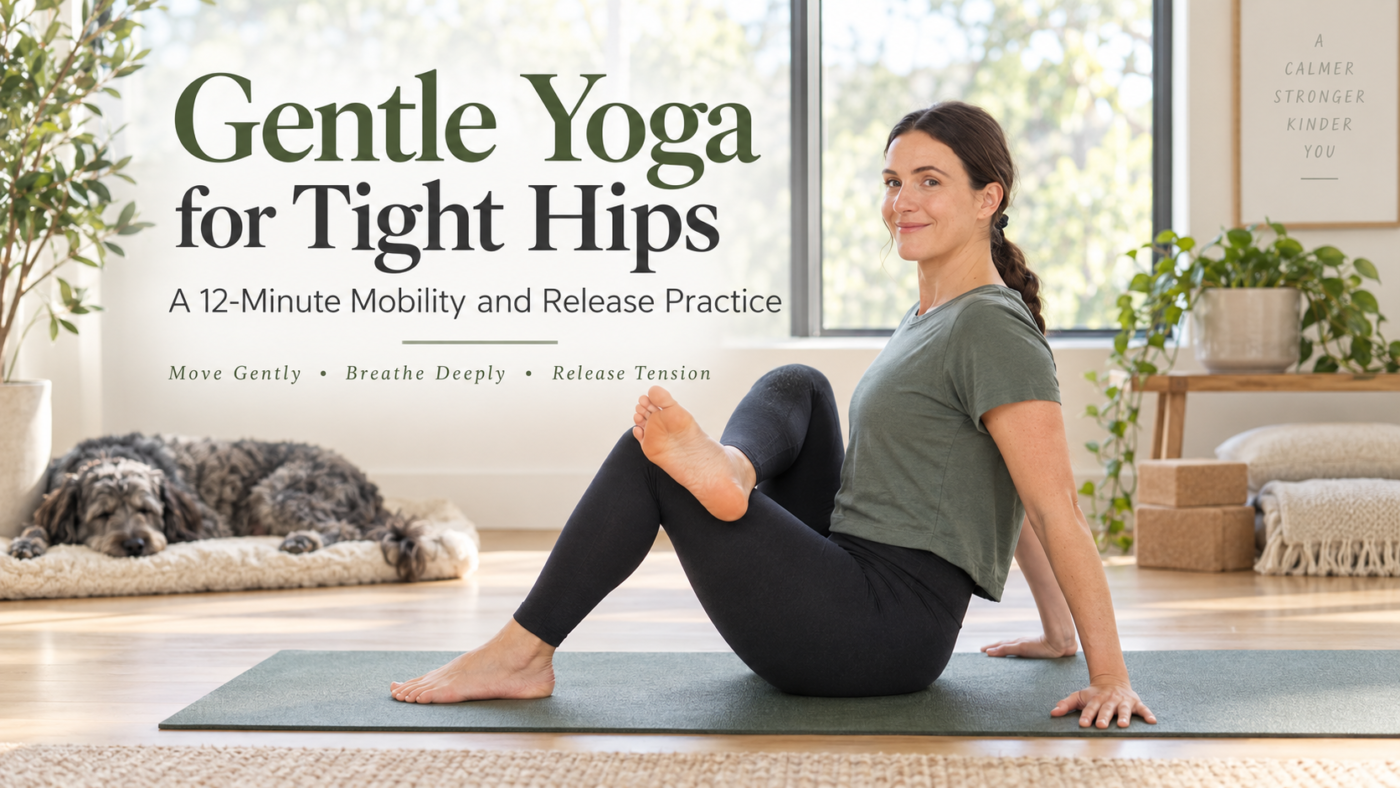
Gentle yoga for tight hips can be a comfortable way to restore movement after long periods of sitting, driving, traveling, or working at a desk. Rather than immediately forcing a deep stretch, a slower sequence can gradually introduce movement to the hips, pelvis, and spine.
This 12-minute practice combines spinal mobility, low lunges, internal and external hip rotation, figure-four stretching, restorative floor poses, and mindful breathing.
The purpose of this gentle yoga for tight hips routine is not to force the hips “open.” Instead, it encourages comfortable movement, body awareness, and a gradual return to mobility.
Tight hips are common after long periods of sitting, driving, working at a desk, traveling, or simply moving through the same limited patterns day after day.
The solution does not always need to be a deep stretch.
A slower approach can often feel more comfortable: first mobilize the spine, then gradually introduce hip extension, internal and external rotation, and finally settle into supported floor positions where the body can relax.
This gentle hip yoga routine follows that progression.
It combines spinal movement, low lunges, seated hip rotation, figure-four stretching, slow knee circles, restorative breathing, and a final reclined twist.
The goal is not to force the hips open.
The goal is to create space, awareness, and comfortable movement.
Begin With Cat-Cow
Start on your hands and knees.
Place the wrists beneath the shoulders and the knees beneath the hips.
Spread the fingers and press evenly through the hands.
On an inhale, allow the belly to soften toward the floor as the chest opens and the gaze moves gently forward.
On the exhale, tuck the tailbone, draw the lower ribs inward, and round through the spine.
Continue slowly.
Let the pelvis move with the spine.
Rather than making Cat-Cow as large as possible, focus on making the movement smooth.
The hips and spine work closely together, so beginning with spinal flexion and extension can make the rest of the practice feel less abrupt.
Move Into a Wide-Knee Child’s Pose
Return to a neutral tabletop position.
Bring the toes closer together and widen the knees.
On an inhale, lengthen the spine forward.
As you exhale, send the hips backward.
Reach the arms forward if that feels comfortable.
Then come forward again.
Repeat this rocking pattern several times.
With each exhale, allow the hips to travel backward without forcing them toward the heels.
After a few rounds, remain back for several breaths.
Let the forehead rest on the mat, a folded towel, or a yoga block.
Instead of pushing into the stretch, imagine the sitting bones gradually reaching toward the feet.
This can create a broad, gentle sensation through the outer hips and lower back.
Lengthen the Back of the Leg
Return to all fours.
Extend the right leg behind you with the toes on the ground.
Reach the heel toward the back of the mat.
Keep the hips relatively level.
Take a breath.
This simple position introduces length through the back of the leg and prepares the body for a low lunge.
Then bring the right foot forward between the hands.
Ease Into a Low Lunge
Lower the back knee to the mat.
Slide it backward slightly if you want more space.
Untuck the back toes and press the top of the foot gently into the floor.
Bring the hands onto the front thigh and slowly rise.
Lengthen through the spine.
Gently draw the front hip backward while keeping some engagement through the lower abdomen.
You may already feel a stretch through the front of the back hip.
If you want slightly more intensity, allow the front knee to move forward a little while maintaining a stable base.
Avoid collapsing heavily into the pelvis.
Breathe slowly.
Stay for several comfortable breaths.
Then return the fingertips to the floor.
Lift the back knee briefly if that feels good, and notice the change through the back leg and hip.
Return to all fours.
Repeat on the Other Side
Extend the left leg behind you.
Take a moment to lengthen through the heel.
Then step the left foot forward into a low lunge.
Lower the right knee.
Rise gradually with the hands on the front thigh.
Notice whether this side feels different.
Most people are not perfectly symmetrical.
One hip may feel tighter, less stable, or simply different from the other.
There is no need to make both sides feel the same.
Work with the body you have today.
Take several slow breaths before returning the hands to the mat.
Transition Into Seated Hip Mobility
Return to all fours and briefly step back toward a plank position if comfortable.
Then lower the knees and move into a seated position.
Place the hands behind you.
Bend the knees and bring the feet to the floor slightly wider than the hips.
Lift through the chest.
Now slowly allow both knees to fall toward the right.
Do not push them down.
Let gravity and breathing create the movement.
Here, one hip moves toward internal rotation while the other moves toward external rotation.
Return to center.
Then allow the knees to move toward the opposite side.
Continue slowly from side to side.
These “windshield wiper” movements are useful because the hips rarely move in only one direction during daily life.
Avoid the Urge to Maximize the Stretch
This is an important principle throughout the practice.
More intensity does not automatically mean more benefit.
When the knees fall to one side, notice what the hips are doing.
Allow the movement rather than forcing it.
If the body begins to tense, reduce the range.
If you are holding your breath, you have probably gone too far.
Comfortable mobility is more useful than chasing the deepest possible stretch.
Explore a Figure-Four Hip Stretch
Return the legs to center.
There are several ways to practice the next position.
Cross the right ankle over the left thigh.
You can remain supported on your elbows with the opposite foot on the floor.
If you want more sensation, sit slightly taller.
Another option is to lie on your back and draw the supporting thigh toward you.
This reclined variation is often called a figure-four or thread-the-needle stretch.
Choose the version that allows you to breathe normally.
You may feel the stretch through the outer hip and gluteal region of the crossed leg.
Keep the neck and shoulders relaxed.
After several breaths, release and repeat on the opposite side.
Again, allow each side to be different.
Listen to the Hips Rather Than Fighting Them
Hip flexibility varies enormously.
Bone structure, joint shape, muscle tension, daily habits, previous injuries, and activity levels all influence how a hip position feels.
That means one person’s “comfortable stretch” may look completely different from another’s.
The visual shape of the pose is not the goal.
Choose the version that gives you a manageable sensation without joint pain or pinching.
Hug the Knees In
Lie on your back and draw both knees toward the chest.
Place the hands lightly over the knees or shins.
Keep a small amount of abdominal engagement to support the pelvis.
Then begin drawing slow circles with the knees.
Move them outward, around, and back in.
Keep the circles controlled.
After several rounds, reverse direction.
This creates a gentle circular motion through both hip joints.
Make the circles smaller if the movement feels uncomfortable.
Settle Into Reclined Cobbler’s Pose
Place both feet on the floor.
Bring the soles of the feet together and allow the knees to open outward.
This is Reclined Bound Angle, or Supta Baddha Konasana.
If the inner thighs or hips feel strained, place cushions, folded towels, or yoga blocks underneath the knees.
Support the head if needed.
Place one hand over the chest and the other over the abdomen.
Close the eyes if that feels comfortable.
Let the body become heavier.
Slow Down the Exhale
Take an easy inhale.
Then allow the exhale to become slightly longer, slower, and smoother.
Do not force the breath or count aggressively.
Simply notice whether the exhale can soften.
Try again.
Easy inhale.
Longer exhale.
Breathing slowly can provide a quiet transition from active mobility into rest.
If longer exhales make you dizzy or uncomfortable, return to your normal breathing pattern.
Finish With a Gentle Supine Twist
Extend both legs if comfortable.
Draw one knee toward the chest.
Guide it gently across the body into a reclined twist.
Keep the movement easy.
Take a breath in.
Breathe out.
Return to center.
Switch sides.
Let the final twist feel like a release rather than another challenge.
Then return to the center and choose whatever resting position feels best.
You can keep the knees bent or extend the legs.
Take one final slow breath.
Why Hip Mobility Is More Than Stretching
Many people think “tight hips” simply means that the muscles need deeper stretching.
In reality, comfortable hip movement depends on several factors.
The hips need access to flexion, extension, internal rotation, external rotation, and coordinated movement with the pelvis and spine.
That is why this routine does more than hold one long stretch.
It moves through several different patterns.
Cat-Cow introduces pelvic and spinal movement.
Child’s Pose adds hip flexion.
Low Lunges emphasize the front of the hip.
Windshield Wipers explore rotation.
Figure-Four targets a different rotational pattern.
Knee circles combine several directions of hip movement.
The restorative ending gives the body time to settle after those movements.
When This Practice May Feel Especially Helpful
This gentle hip routine can fit naturally into many situations.
You may enjoy it:
After sitting at a desk for several hours.
After a long drive or flight.
Following a sedentary day.
As a gentle evening mobility routine.
Before a longer yoga practice.
After light exercise.
On days when your hips feel stiff but you do not want an intense workout.
The practice is also short enough to repeat regularly.
What You Should Feel
A gentle stretching sensation is usually reasonable.
Mild muscular effort is also normal.
Sharp pain is not.
Neither is joint pinching, numbness, tingling, burning, or pain traveling down the leg.
If a lunge causes discomfort in the front knee, shorten the stance or add padding beneath the back knee.
If Figure-Four creates pinching in the hip joint, move the legs farther away or skip the position.
If Reclined Bound Angle feels too intense, support both thighs.
There is almost always a gentler version.
Do Not Force Your Hips Open
The phrase “open your hips” is common in yoga, but it can create the impression that the hips are supposed to reach a particular range of motion.
They are not.
Bodies differ.
Joint structures differ.
Your goal is not to reproduce someone else’s posture.
A better goal is to gradually improve or maintain the range of motion that supports your own everyday movement.
Move slowly.
Breathe.
Notice.
Adjust.
That approach is often more sustainable than trying to force flexibility.Gentle yoga for tight hips works best when the goal is comfortable movement rather than maximum range. By combining spinal motion, hip extension, internal and external rotation, and restorative positions, the routine gives the hips several different ways to move instead of relying on one intense stretch.
A Simple Practice for Everyday Mobility
Hip mobility does not require complicated choreography.
A short sequence can include:
Spinal movement.
A wide-knee resting position.
Low lunges.
Internal and external hip rotation.
Figure-Four stretching.
Gentle circular movement.
Restorative breathing.
A final twist.
Taken together, these movements create a balanced practice without turning mobility into a competition.
The most important part is not how far you move.
It is how well you listen.
FAQ
Is gentle yoga good for tight hips?
Gentle yoga can provide several ways to move the hips through comfortable ranges of flexion, extension, internal rotation, and external rotation. The goal should be gradual mobility rather than forcing a deeper stretch.
How long should I do yoga for tight hips?
There is no single required duration. A short 10- to 15-minute mobility practice can be useful when performed comfortably and consistently. This routine takes approximately 12 minutes.
Can beginners do this gentle yoga for tight hips routine?
Yes. Most of the movements can be modified by reducing the range of motion, using cushions or yoga blocks, shortening lunges, or choosing an easier figure-four variation.
Why do my hips feel tight after sitting?
Long periods in one position can make the hips feel stiff when you begin moving again. How hip tightness feels also varies with activity level, mobility, muscle tension, previous injury, and individual joint structure.
Should hip stretches hurt?
No. Mild stretching or muscular tension may be normal, but sharp pain, joint pinching, numbness, tingling, burning, or radiating pain are signals to stop or modify the position.
Is Figure-Four good for tight hips?
Figure-Four variations are commonly used to create a stretch through the outer hip and gluteal region. The position should be adjusted so that the sensation remains comfortable rather than painful.
Can I do this hip yoga routine every day?
A gentle mobility routine may be practiced regularly if it feels comfortable and is appropriate for your health and movement capacity. Intensity and frequency should be adjusted according to how your body responds.
Medical Disclaimer
This article is provided for general educational and wellness purposes only and is not intended as medical advice, diagnosis, or treatment. Yoga and stretching exercises may not be appropriate for everyone. Stop any movement that causes sharp pain, joint pinching, numbness, tingling, dizziness, weakness, or other unusual symptoms. People who are pregnant, recovering from surgery or injury, or living with hip, knee, back, neurological, cardiovascular, or other medical conditions should seek individualized guidance from a qualified healthcare professional before beginning a new exercise or mobility routine.
This article is for general education and does not replace individualized care from a qualified health professional. Seek appropriate advice for persistent, severe, or concerning symptoms.
Read the full medical disclaimer